How to: Poinsettia Care Guide

November 21, 2025

Poinsettia Care Guide

Light
Place your poinsettia near a sunny window with at least 6 hours of light each day. South, east, or west-facing windows work best. Keep it away from drafts and cold window glass.

Water
Let the soil dry slightly before watering. Water slowly until it drains from the bottom, then empty the saucer so the plant is never sitting in water. Most poinsettias need water every 2 to 3 days, but some may need it daily in bright, dry conditions.

Temperature
Keep the plant between 65°F and 70°F during the day and above 53°F at night. Cooler nights help the plant last longer. Avoid hot or cold drafts.

Feeding
Do not fertilize while the plant is blooming. If you plan to keep the plant past the holidays, begin feeding only after the blooms have fallen off.

Basic Reblooming Steps

  • Keep indoors until after the last frost.
  • Trim leggy stems in early spring.
  • Move outdoors in warm weather with morning sun and afternoon shade.
  • Bring indoors before temps drop below 45 F.
  • Starting in September, give the plant 10 hours of light and 14 hours of complete darkness every day for 8 to 10 weeks until color forms.

Are Poinsettias Toxic?
Poinsettias are not toxic but can cause stomach upset if eaten. The white sap may irritate sensitive skin. Keep away from pets and small children as a precaution.

About the Color
The red, pink, or white parts are bracts. The actual flowers are the small yellow clusters in the center.
Planting tulip bulbs
By Master Account October 9, 2025
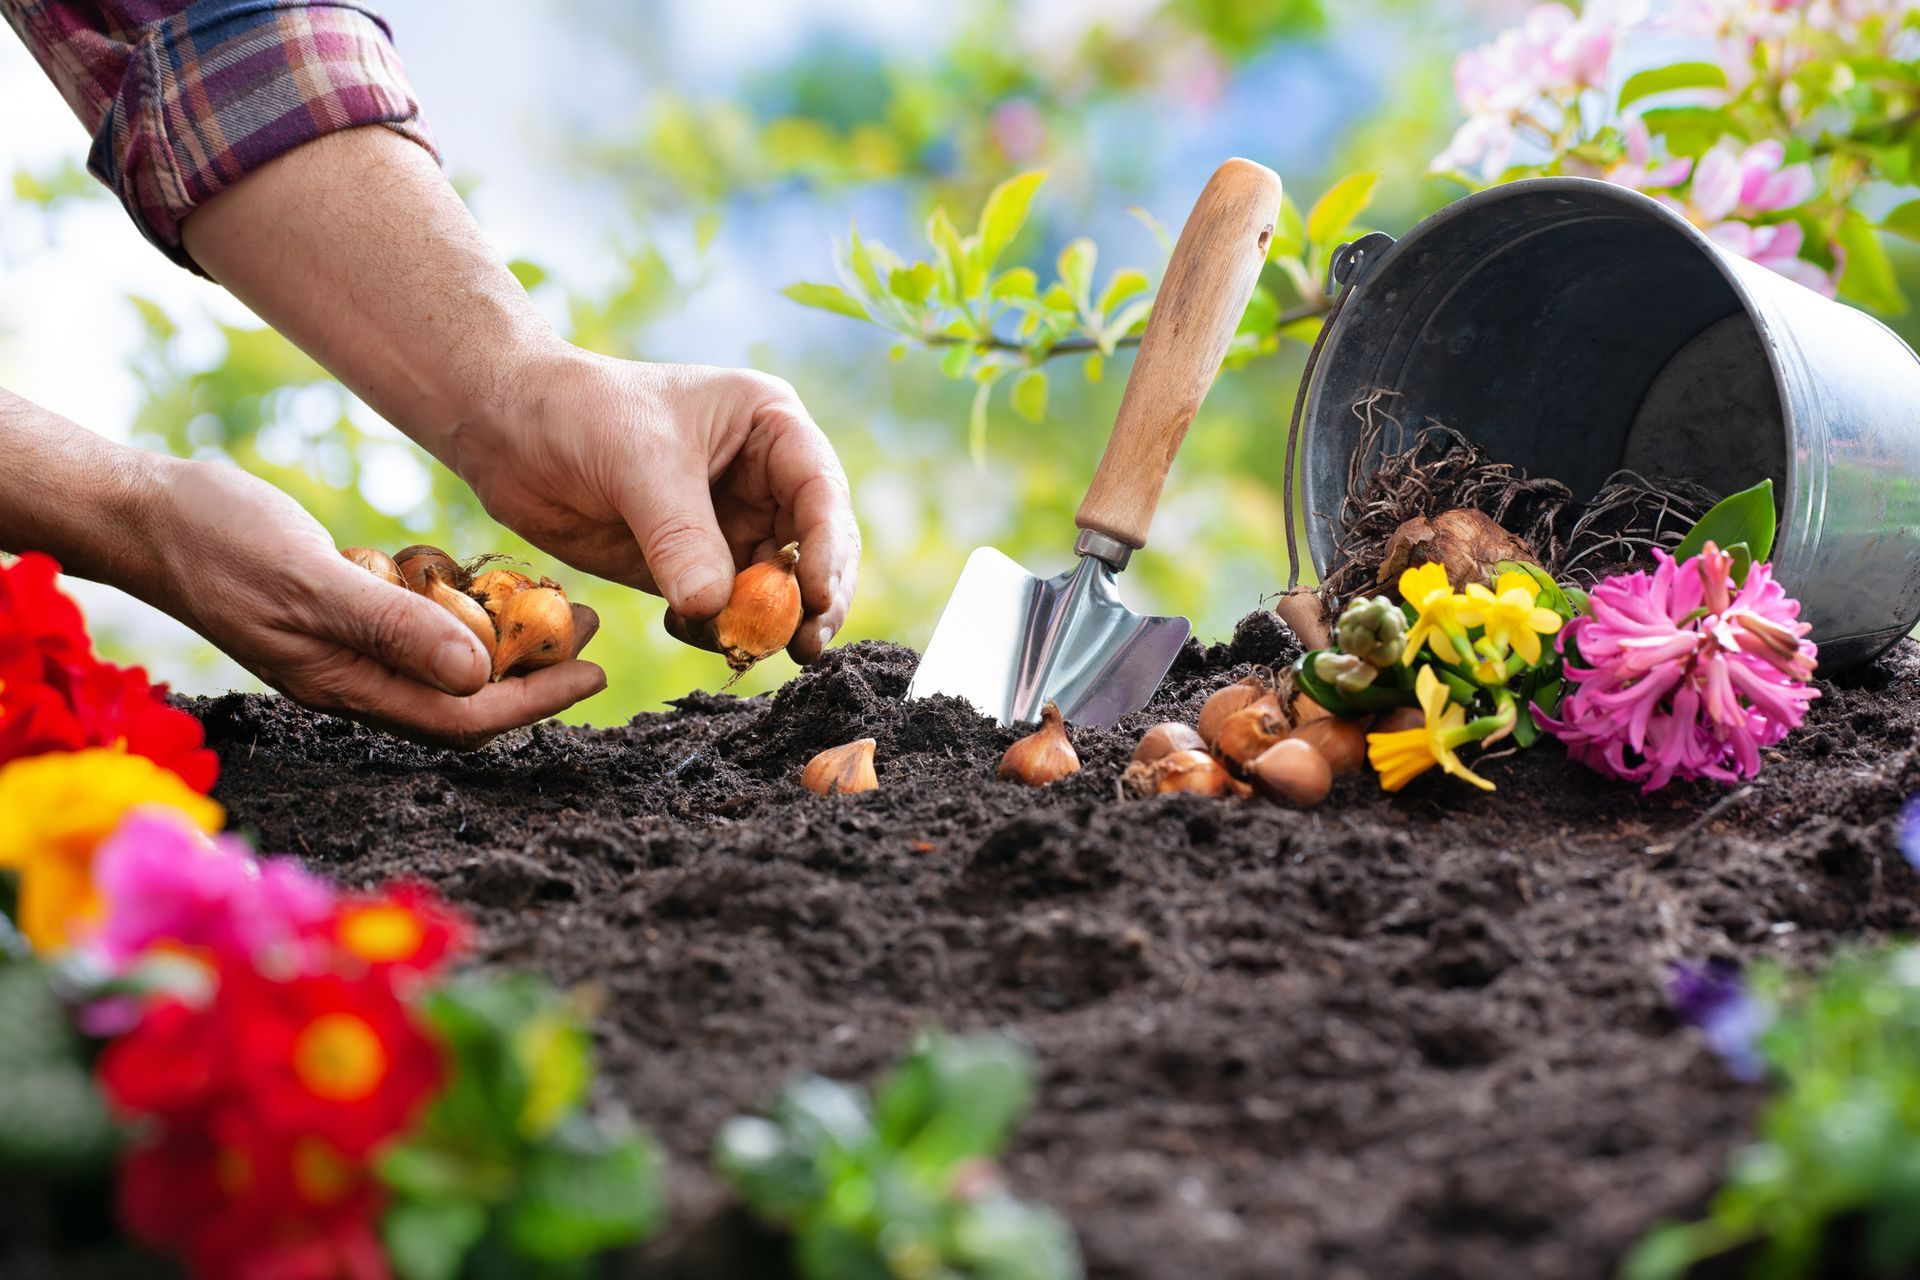
Tulips are one of the most rewarding flowers you can grow — vibrant colors, easy care, and beautiful spring displays. Follow these simple steps to plant your bulbs this fall and enjoy a stunning show next spring. When to Plant Plant tulip bulbs in fall — usually late September through early November in Arkansas. You want soil temperatures to cool down below 60°F before planting. What You’ll Need Tulip bulbs (choose firm, healthy ones) Garden trowel or bulb planter Bone & blood meal (Hi-Yield or similar) Compost or well-draining garden soil Mulch (pine bark, straw, or shredded leaves) Watering can or hose Step-by-Step Instructions Step 1: Choose the Right Spot Tulips thrive in full sun — at least 6 hours per day — and well-drained soil . Avoid areas where water pools after rain. Step 2: Prepare the Soil Loosen the soil about 8 inches deep where you plan to plant. Mix in 1–2 inches of compost across the surface and work it into the top 6–8 inches of soil. This improves drainage and gives your bulbs a healthy growing environment. Next, sprinkle Bone & Blood Meal into the area — about 1 tablespoon per bulb hole . Lightly mix it into the loosened soil (don’t let the bulb sit directly on top of the fertilizer). Good soil prep is key — it helps bulbs form strong roots before winter. Step 3: Plant the Bulbs Dig each hole about 6–8 inches deep and 4–6 inches apart . Place the bulb pointed end up and flat end down on the loosened, fertilized soil. Backfill the hole with the amended soil and gently firm it down — just enough to remove air pockets, not pack it tight. Step 4: Water Thoroughly After planting, water deeply once to settle the soil. You won’t need to water again unless the weather is unusually dry. Step 5: Add Mulch When the soil cools (usually late October), spread 2–3 inches of mulch over the bed. This keeps soil temperatures stable and prevents early sprouting during winter warm spells. Spring Care When tulip shoots appear in February or March , apply a top dressing of bulb fertilizer such as: Hi-Yield Dutch Bulb Food (7-8-5) Or a general 5-10-10 garden fertilizer Lightly scratch it into the soil and water. After flowering, remove faded blooms but leave the green leaves until they yellow — this allows the bulb to recharge for next year. Pro Tip If your tulips are in a rainy area or heavy clay soil, consider planting them in raised beds or adding sand to improve drainage — soggy bulbs can rot. Enjoy the Show! With the right soil, a little fertilizer, and some patience, your tulips will reward you with bright, cheerful blooms every spring.
By Master Account August 28, 2025
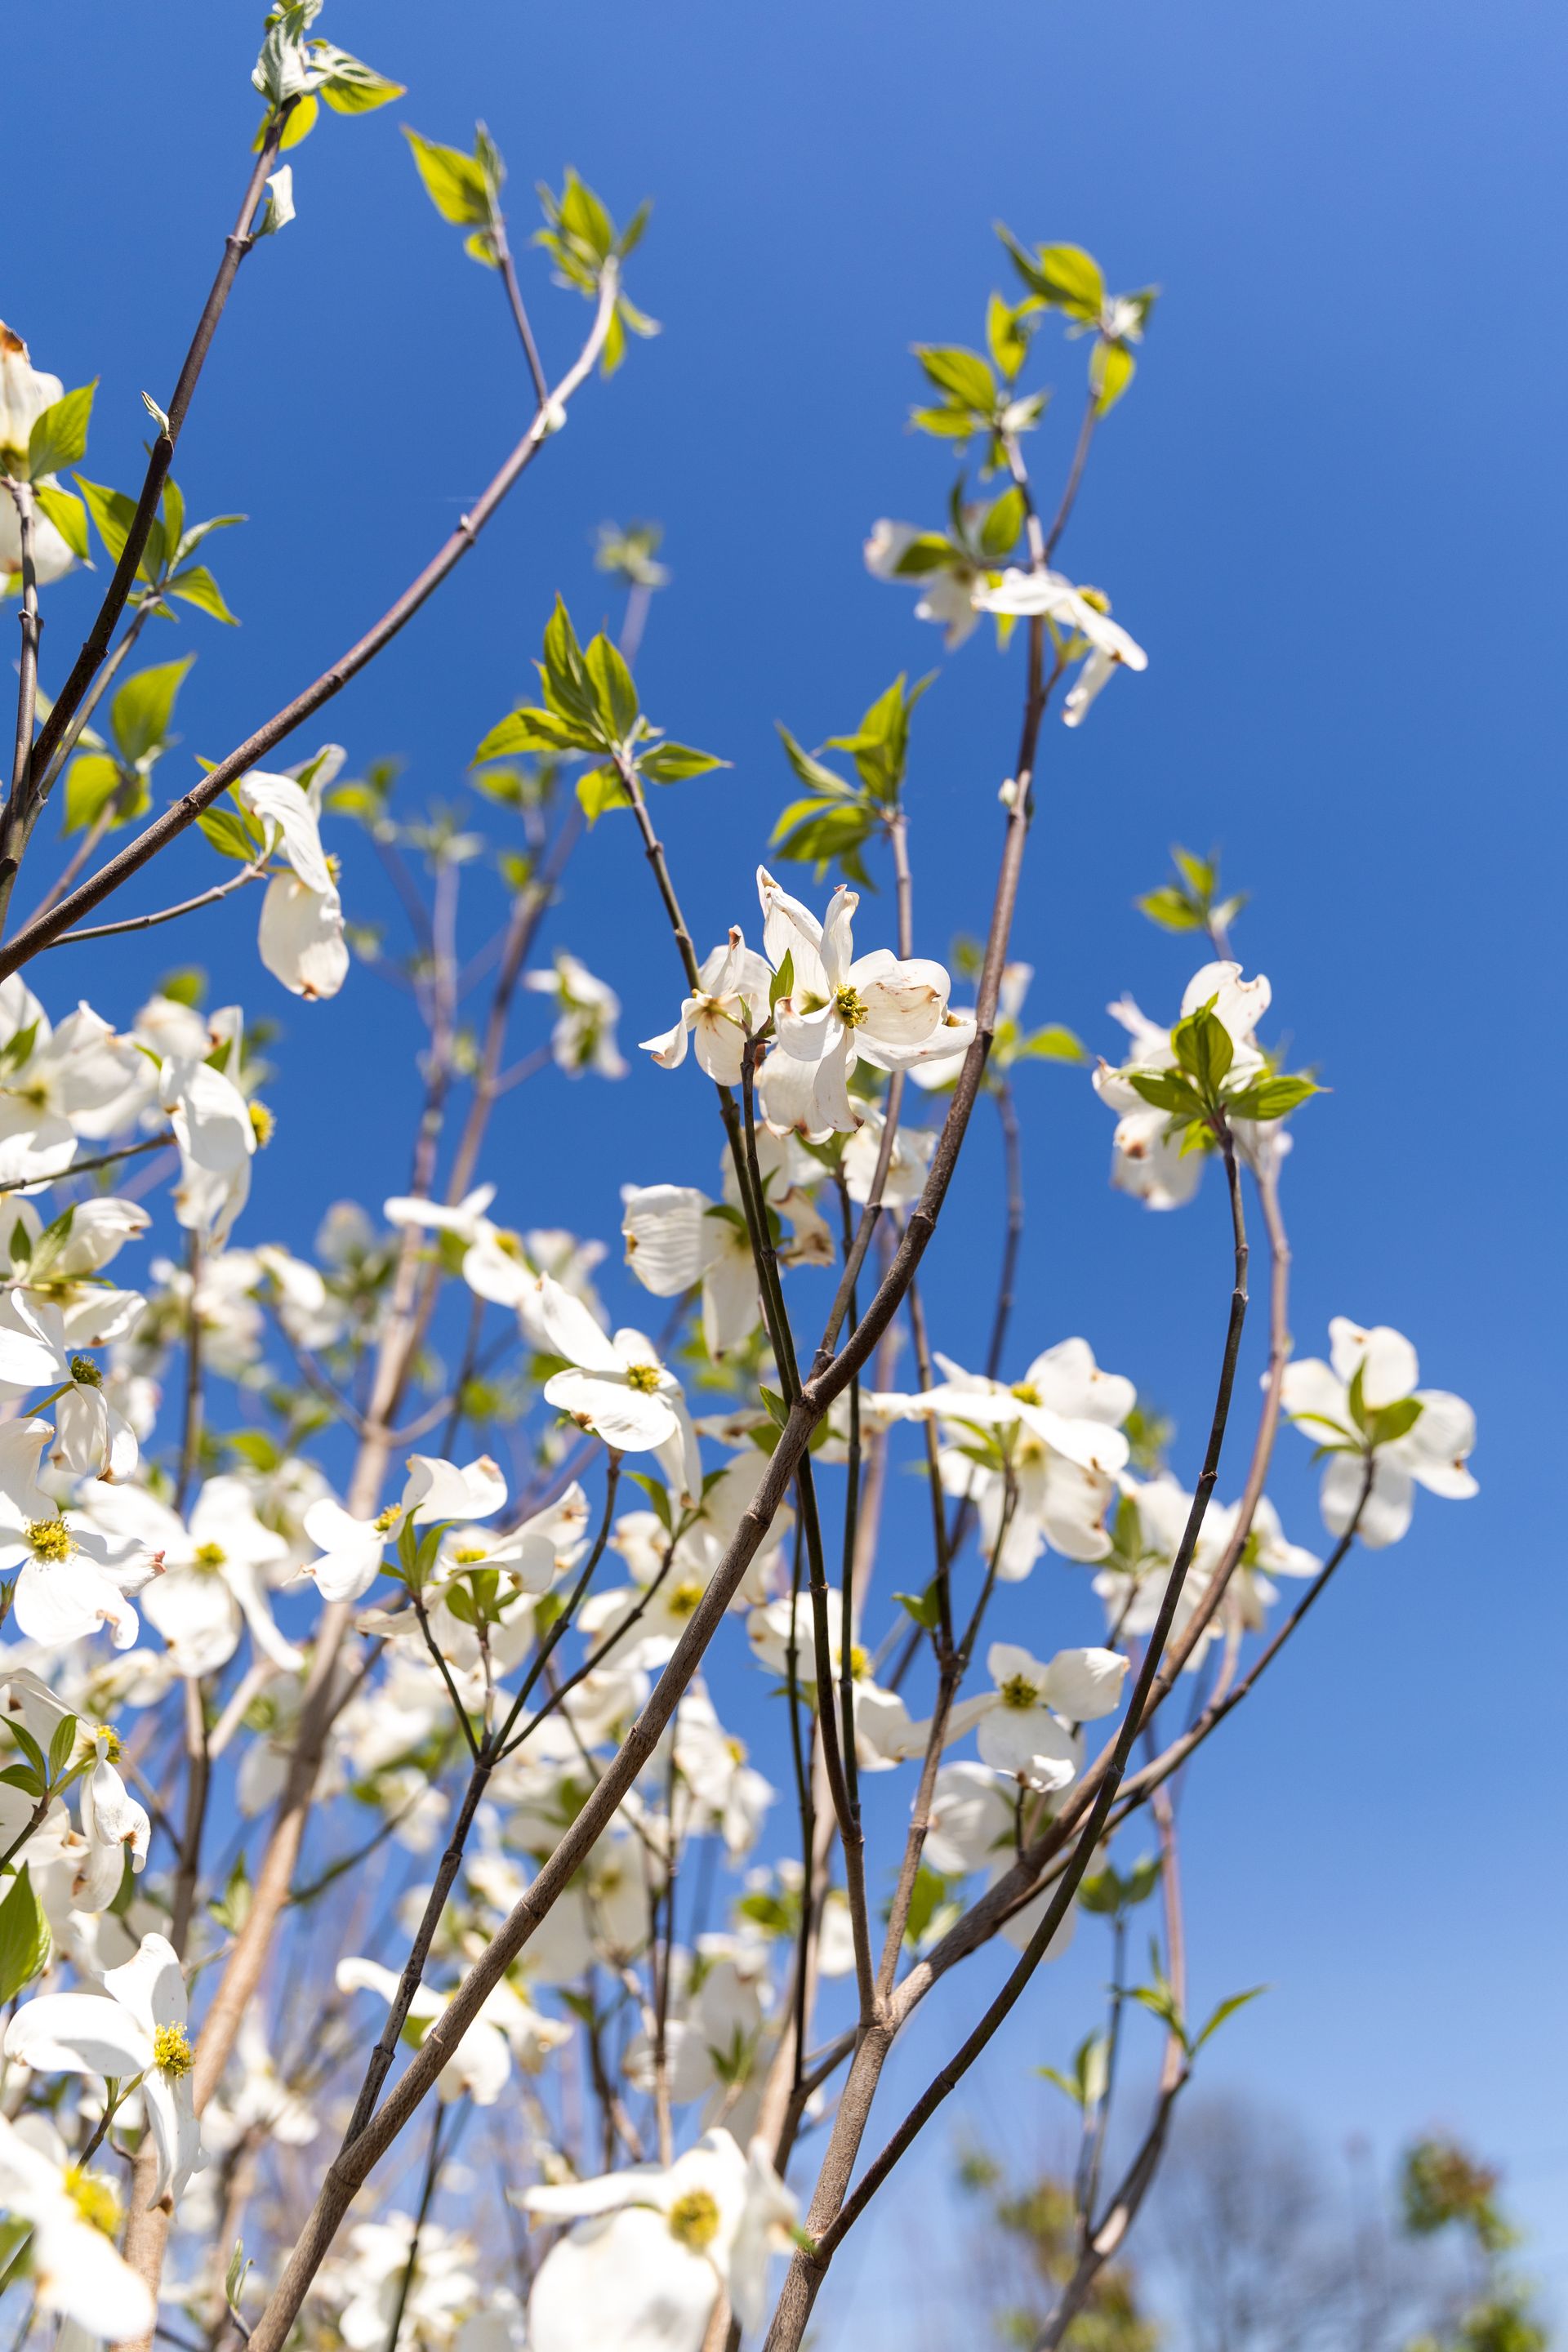
Planting a tree is a rewarding way to enhance your landscape and support the environment. Follow these steps to ensure your tree thrives. What You’ll Need: A healthy tree from Sharum's Garden Center Shovel Compost (to enrich soil) Mulch (to retain moisture and regulate soil temperature) Root stimulator (to encourage strong root growth) Watering can or hose Measuring tape (optional, for spacing) Steps to Plant a Tree: Choose the Right Spot : Select a location with adequate sunlight and space for your tree’s mature size. Check for proper soil drainage and ensure that you avoid underground utilities. Dig the Hole : Dig a hole twice as wide and as deep as the tree’s root ball. Loosen the soil to help roots spread. Amend the Soil : Mix compost into the excavated soil (see instructions here: https://www.sharums.com/garden-center-bulk-bagged) to provide nutrients for healthy growth. Prepare the Tree : Gently remove the tree from its container. If roots are circling, tease them apart. If a ball and burlap tree, carefully remove any synthetic twine, burlap, or wire basket from the top third of the root ball, and ensure the root flare is visible and not buried. Plant the Tree : Place the tree in the hole, ensuring the top of the root ball is level with or slightly above the ground. Backfill with the compost-soil mix, tamping lightly to remove air pockets. Water Thoroughly : Water the tree deeply to settle the soil. Add more soil if needed after watering. Apply a root stimulator solution (follow product instructions) to encourage strong root development. Apply Mulch : Spread a 2-inch layer of mulch around the base, keeping it 2 inches from the trunk to prevent rot. Mulch helps retain moisture and protects roots. Care After Planting : Water regularly. Monitor for pests or stress and adjust care as needed. Pro Tip : Visit our garden center for quality compost, mulch, and root stimulator to give your tree the best start!