After You Buy a Tree: What to Do Next

January 21, 2026

After You Buy a Tree: What to Do Next

 Trees are a long-term investment. Proper handling, planting, and care during the first year determines long-term success.


1. Transporting Your Tree Safely

• Trees should be laid flat during transport. Transporting trees upright exposes them to damaging wind.

• Wind speeds over 15 mph can damage foliage and break branches.

• During the growing season, loosely wrap the canopy with a light sheet or cloth. Wrapping is generally unnecessary when trees are dormant.

• Protect the trunk from rubbing on the tailgate or vehicle using cardboard, towels, or blankets.

• Avoid laying evergreens directly on a hot truck bed. Use cardboard or cloth as a barrier to prevent

foliage burn.


2. Plant As Soon As Possible

• Trees can be planted any time the ground is not frozen.

• If planting is delayed, keep the root ball moist and store the tree in a shaded, wind-protected area.

• Do not leave trees in vehicles or on hot pavement.

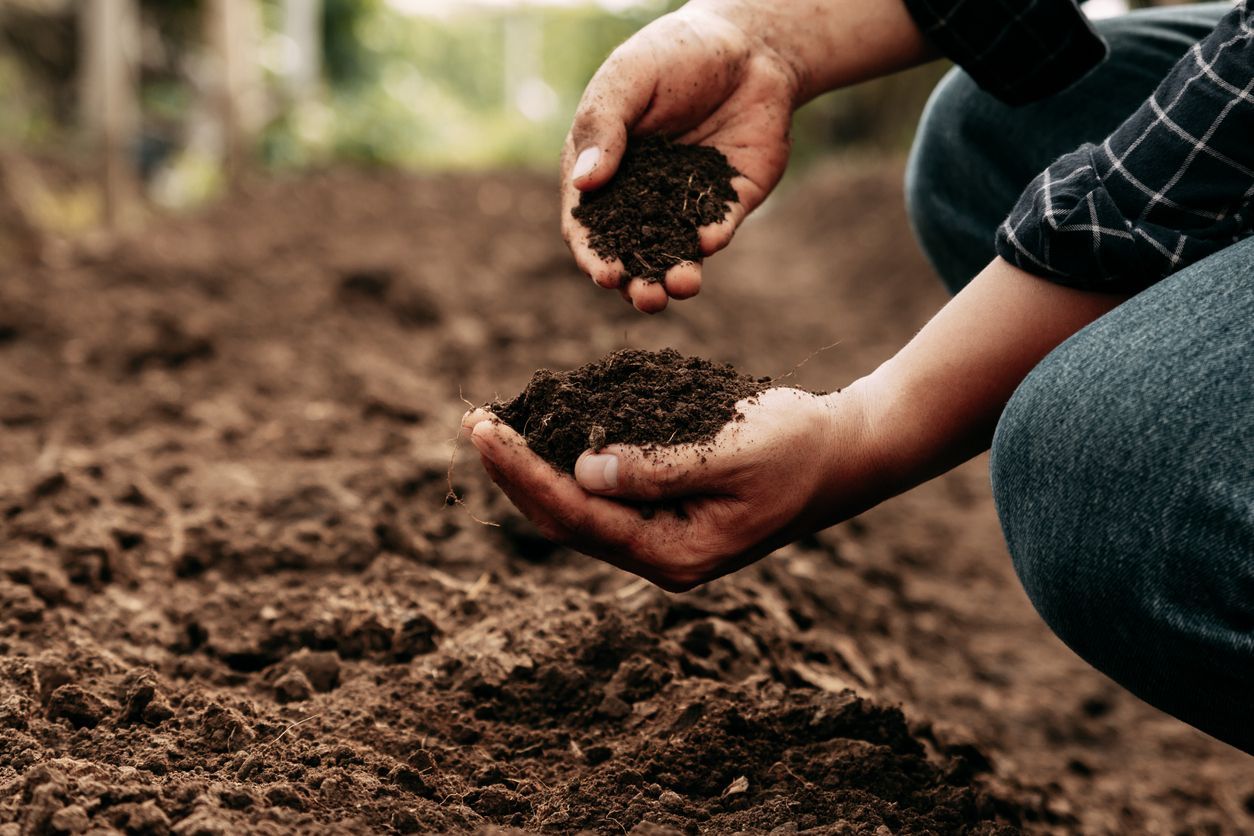
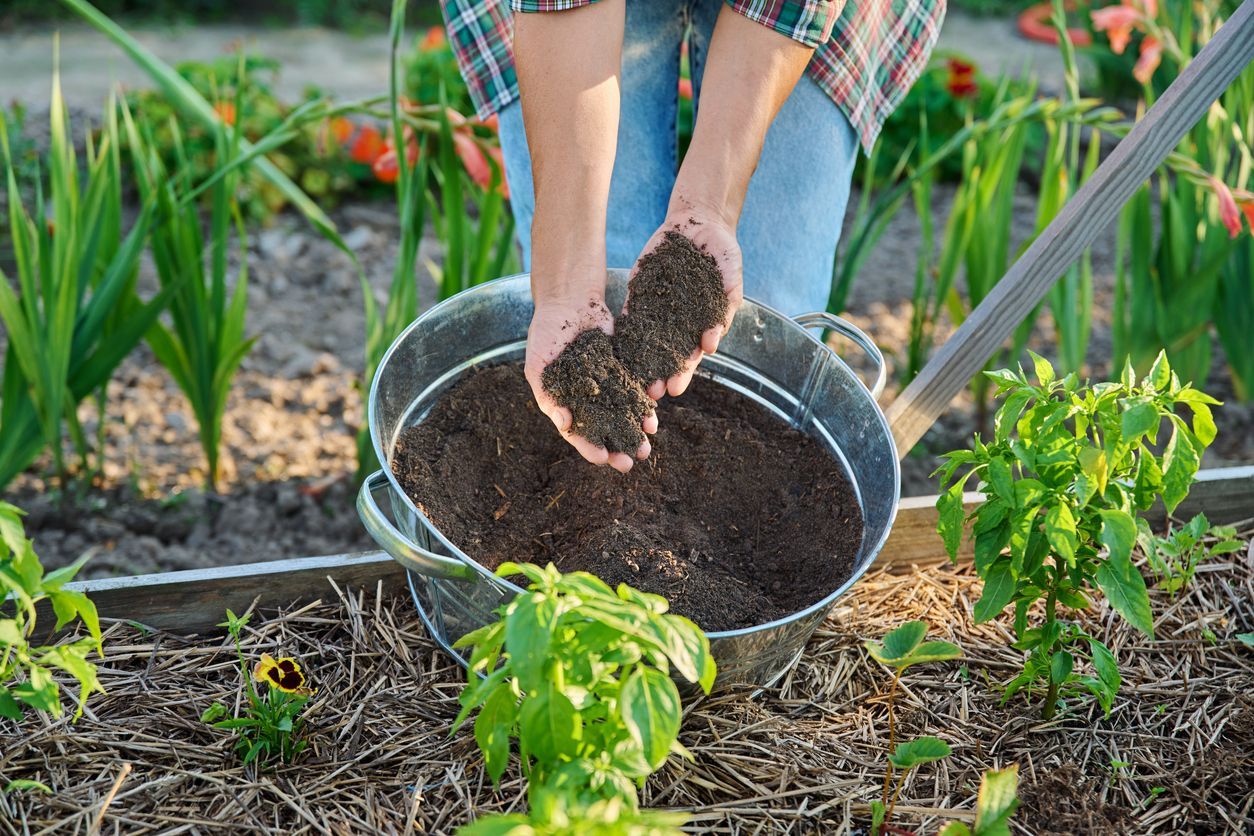
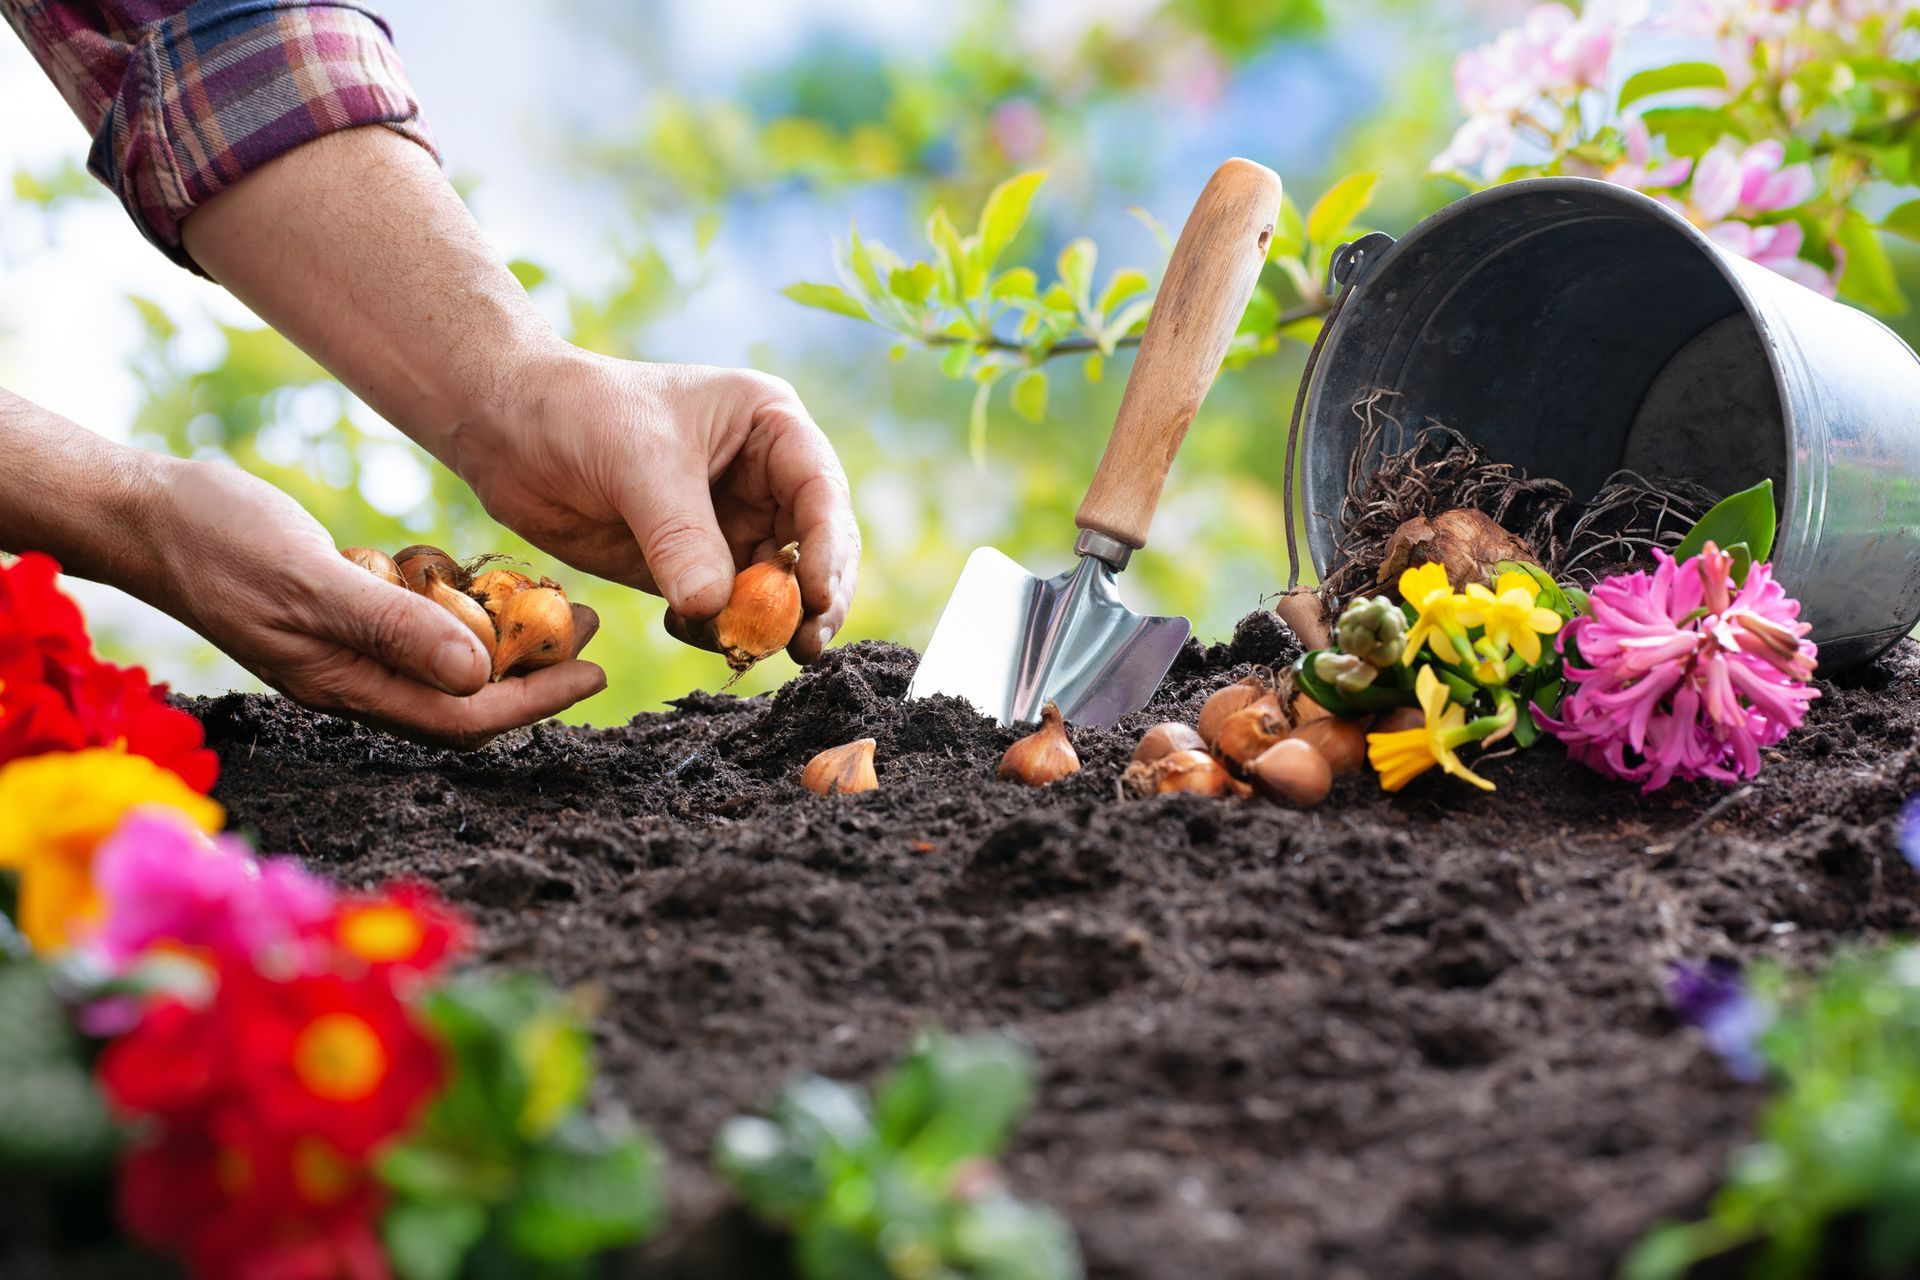
3. Proper Planting Is Critical

• Planting depth and soil preparation determine long-term success.

• Dig a hole 2–3× wider than the root ball.

• Set the tree so the top of the root ball sits 1–2 inches above ground level.

• Backfill using native soil blended with compost.

• Gently firm soil to remove large air pockets.

• Apply 2-3 inches of mulch, but keep mulch off the trunk to prevent rot.

• Compost improves drainage, moisture retention, and soil structure, helping roots establish and grow outward.

• Avoid planting too deep or burying the trunk flare.

• Remove any strip tags or stakes that are no longer needed.

• We recommend Happy Frog® Soil Conditioner as the compost of choice.

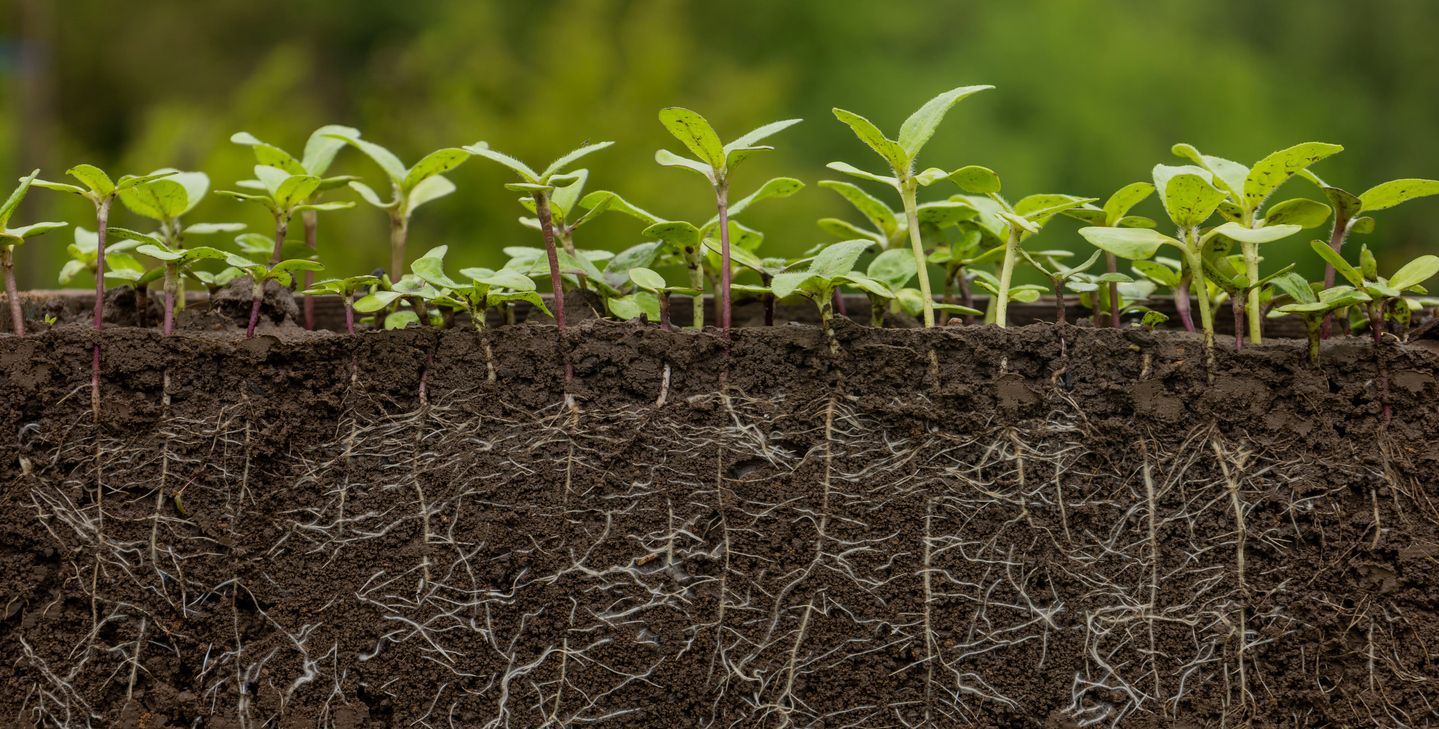
4. Watering: Check the Soil, Not the Calendar

• Every tree, soil, and planting site is different.

• Always check soil moisture before watering using a finger or soil probe 2–4 inches deep.

• If the soil feels dry, water thoroughly. If it feels cool and moist, wait.

• Overwatering causes more tree loss than underwatering.

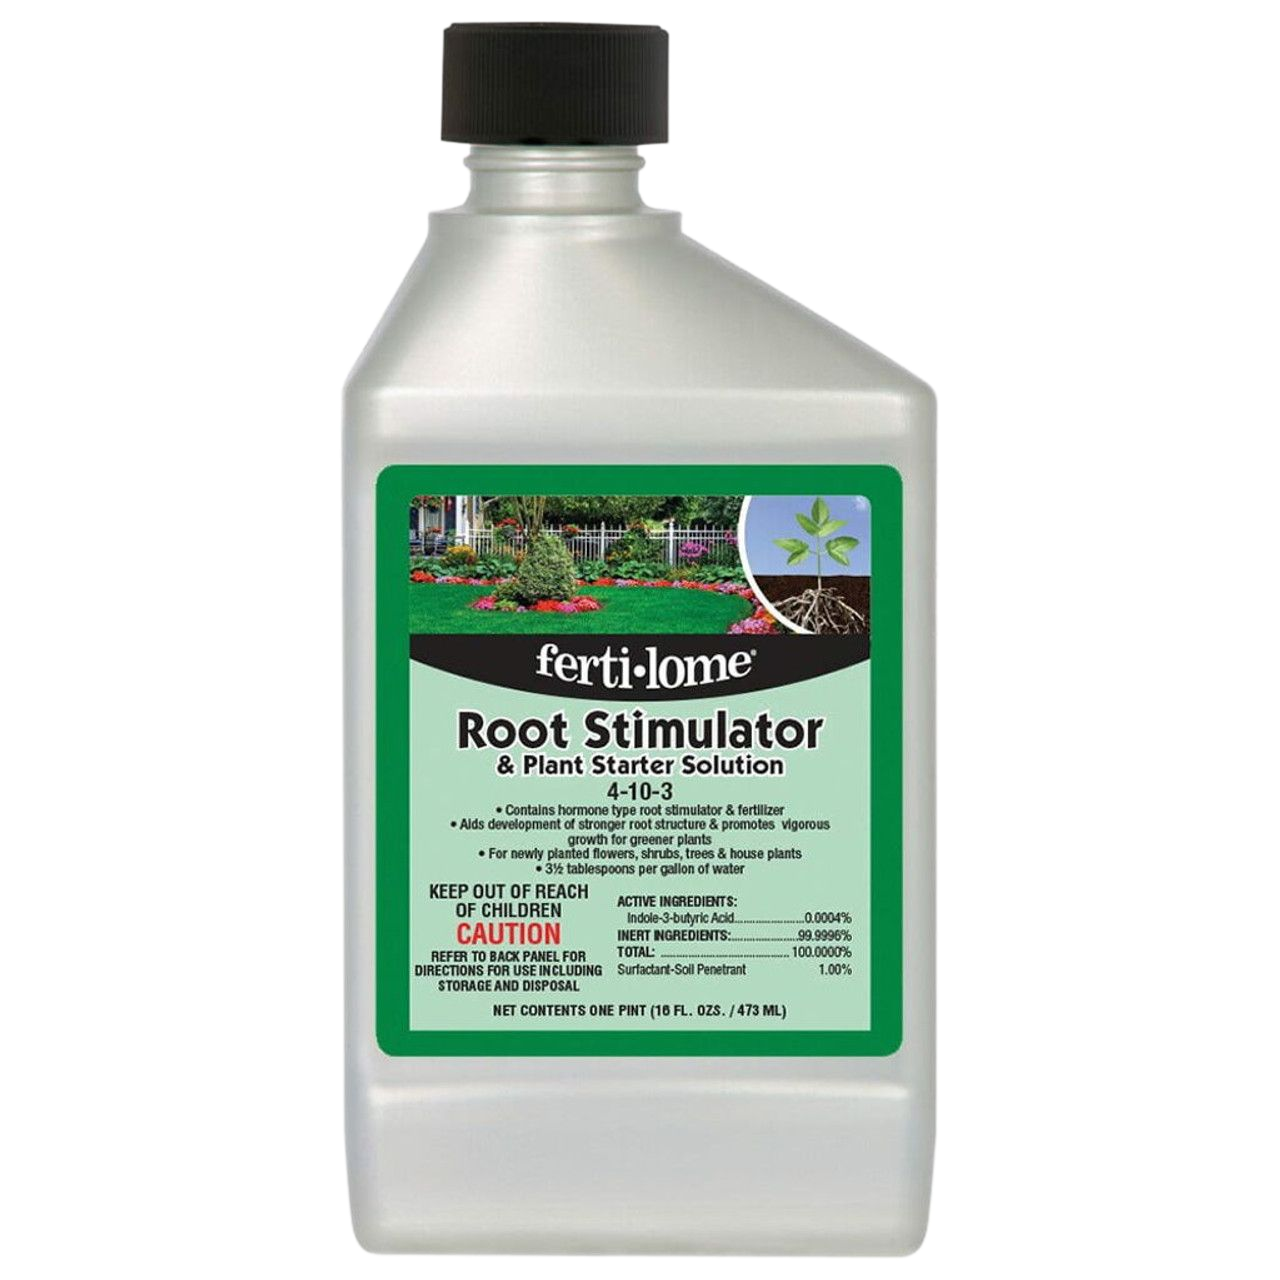
5. Root Stimulation (One Time Only)

Apply a root stimulator or transplant solution once at planting.

• This reduces transplant shock and encourages initial root growth.

• No repeat applications are necessary.

• We recommend Fertilome® Root Stimulator & Plant Starter Solution 4-10-3

6. Insect Protection (Preventive Care)

• Certain trees are highly susceptible to damaging insects. Preventive protection helps reduce stress and long-term decline.

• Apply once per year in early spring after the tree has leafed out.

• Highly recommended for maples, oaks, dogwoods, ornamental cherries, birches, and crape myrtles.

• Preventive treatments are far more effective than treating after damage appears.

• We recommend BioAdvanced® 12 Month Tree & Shrub Protect & Feed Concentrate.

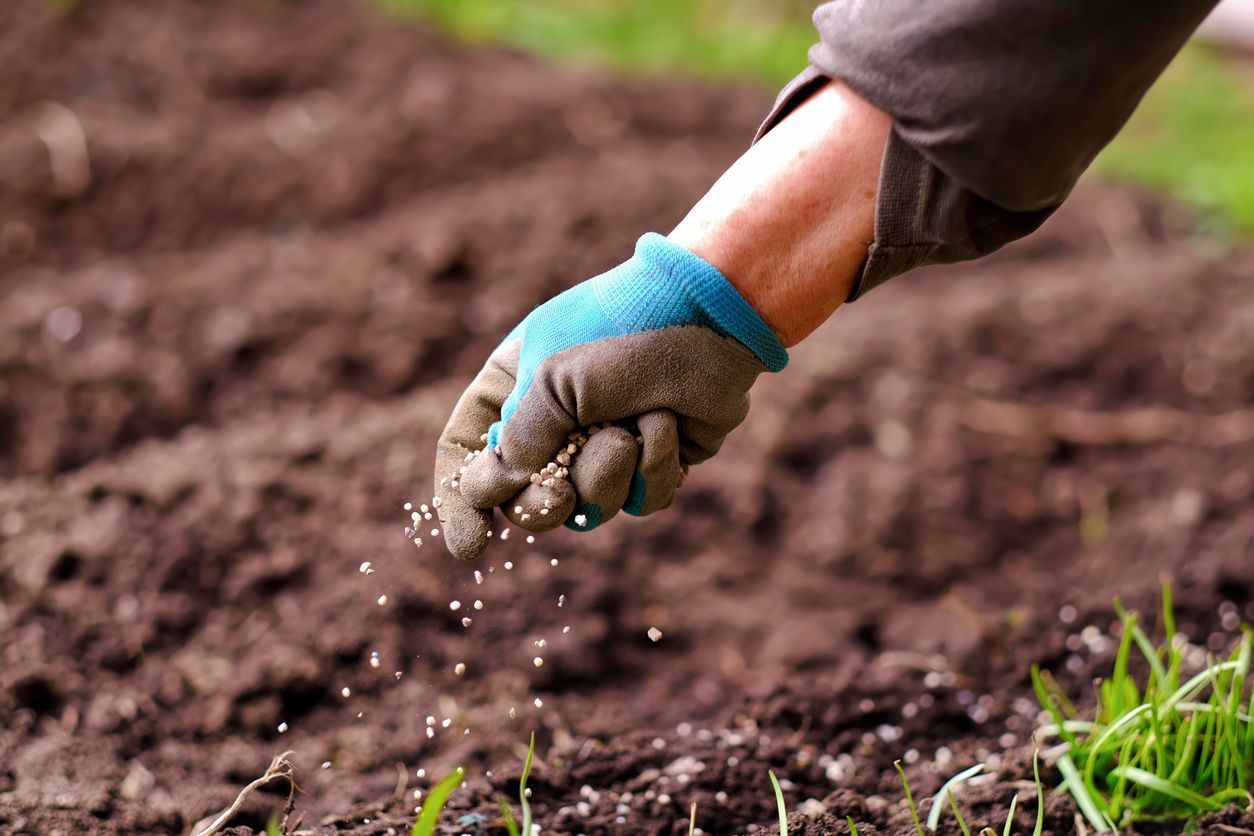
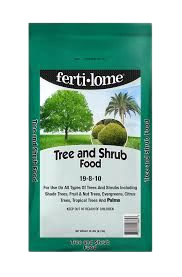
7. Fertilizing: Timing and Type Matter

• Improper fertilizing is a common cause of tree damage or failure.

• Do NOT fertilize at planting.

• Wait until the tree has been planted for at least 6–8 weeks and new growth is visible.

• Use a slow-release, balanced tree & shrub fertilizer.

• Avoid high-nitrogen lawn fertilizers and fast-acting or water-soluble fertilizers during establishment.

• Fertilize no more than once or twice per year (early spring; late spring optional).

• Do not fertilize during extreme heat or drought.

• If the tree looks healthy and is growing well, fertilizing may not be necessary.

• We recommend Fertilome® Tree and Shrub Food 19-8-10

8. Staking: Only If Necessary

• Most trees do not need staking.

• Stake only if the tree is top-heavy or the planting site is exposed to strong winds.

• Use soft, flexible ties and allow slight movement.

• Remove stakes within 6–12 months.


9. Pruning: Minimal the First Year

• Remove only broken, dead, or damaged branches.

• Avoid shaping or heavy pruning during the first growing season.


10. Watch for Transplant Stress

• Temporary leaf drop, wilting during heat, and slower growth are normal.

• Contact us if you see sudden browning, bark splitting, or no new growth well into the growing season.

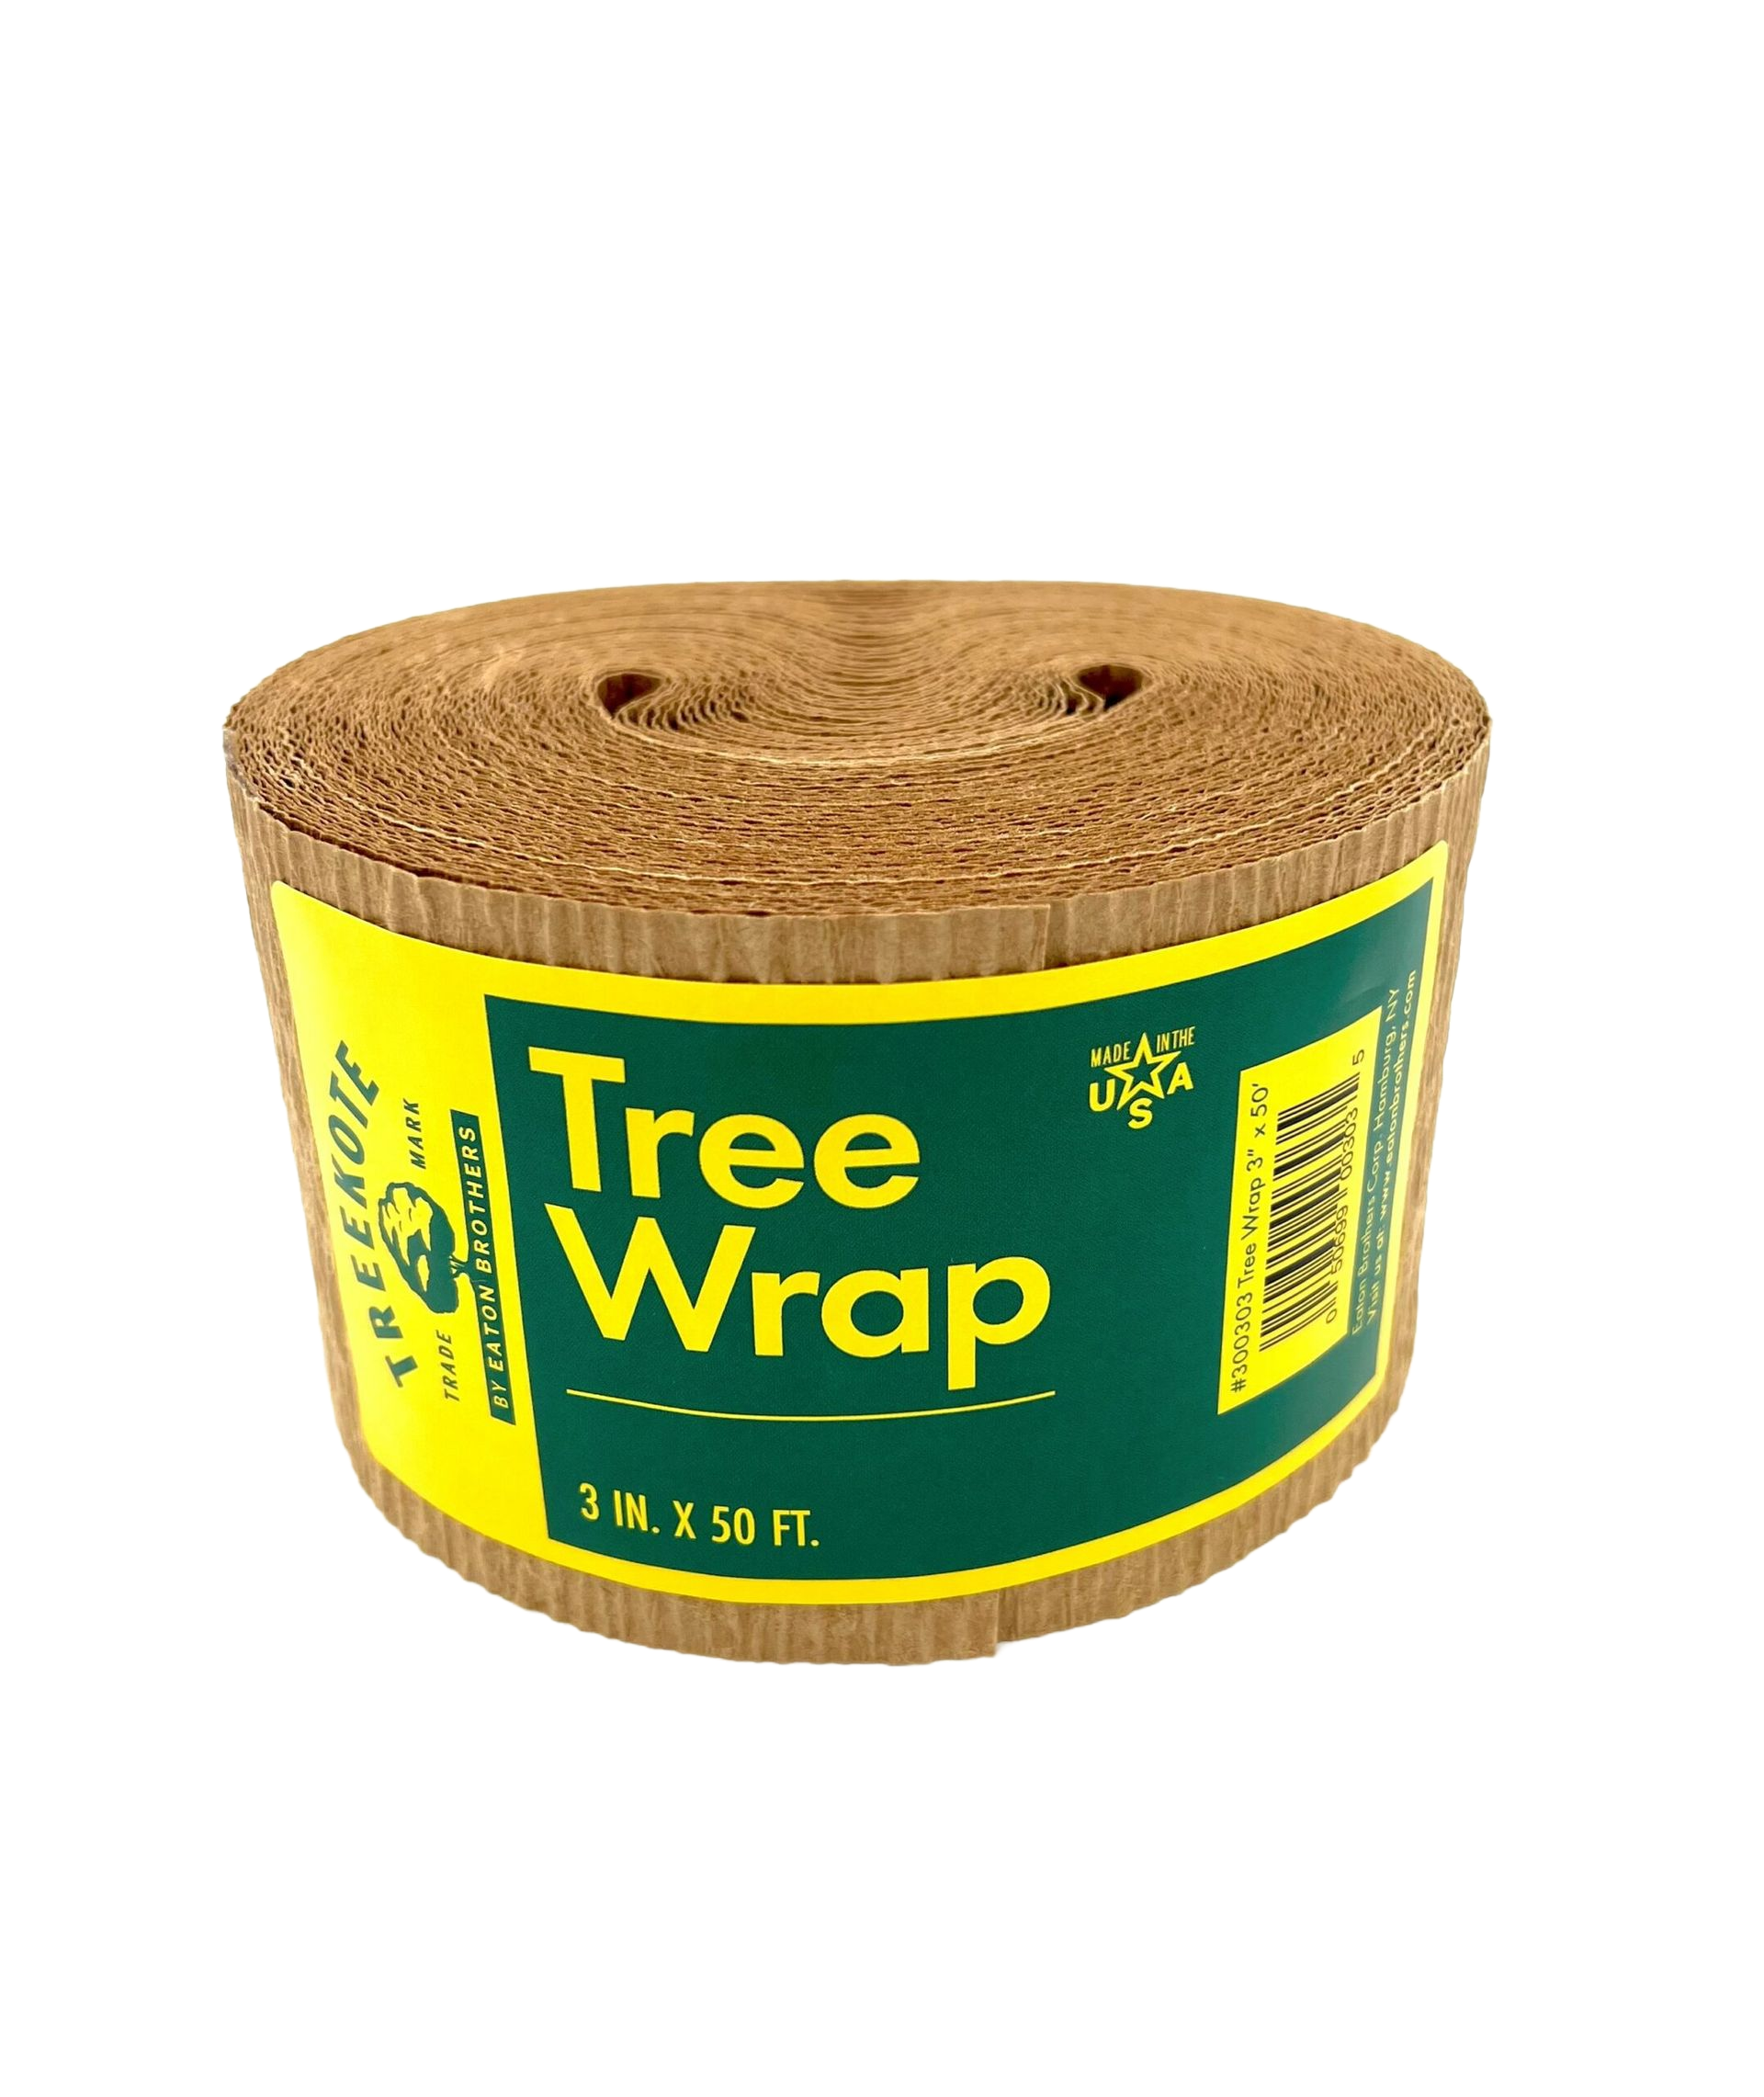
11. Winter & Seasonal Trunk Protection

• Protects against sunscald, rodent damage, and mower or string trimmer injury.

• Tree wrap is particularly beneficial for young trees (first two to three winters).

• Apply in late fall from the base of the trunk to the first branches.

• Remove in early spring. Do not leave wraps on year-round.

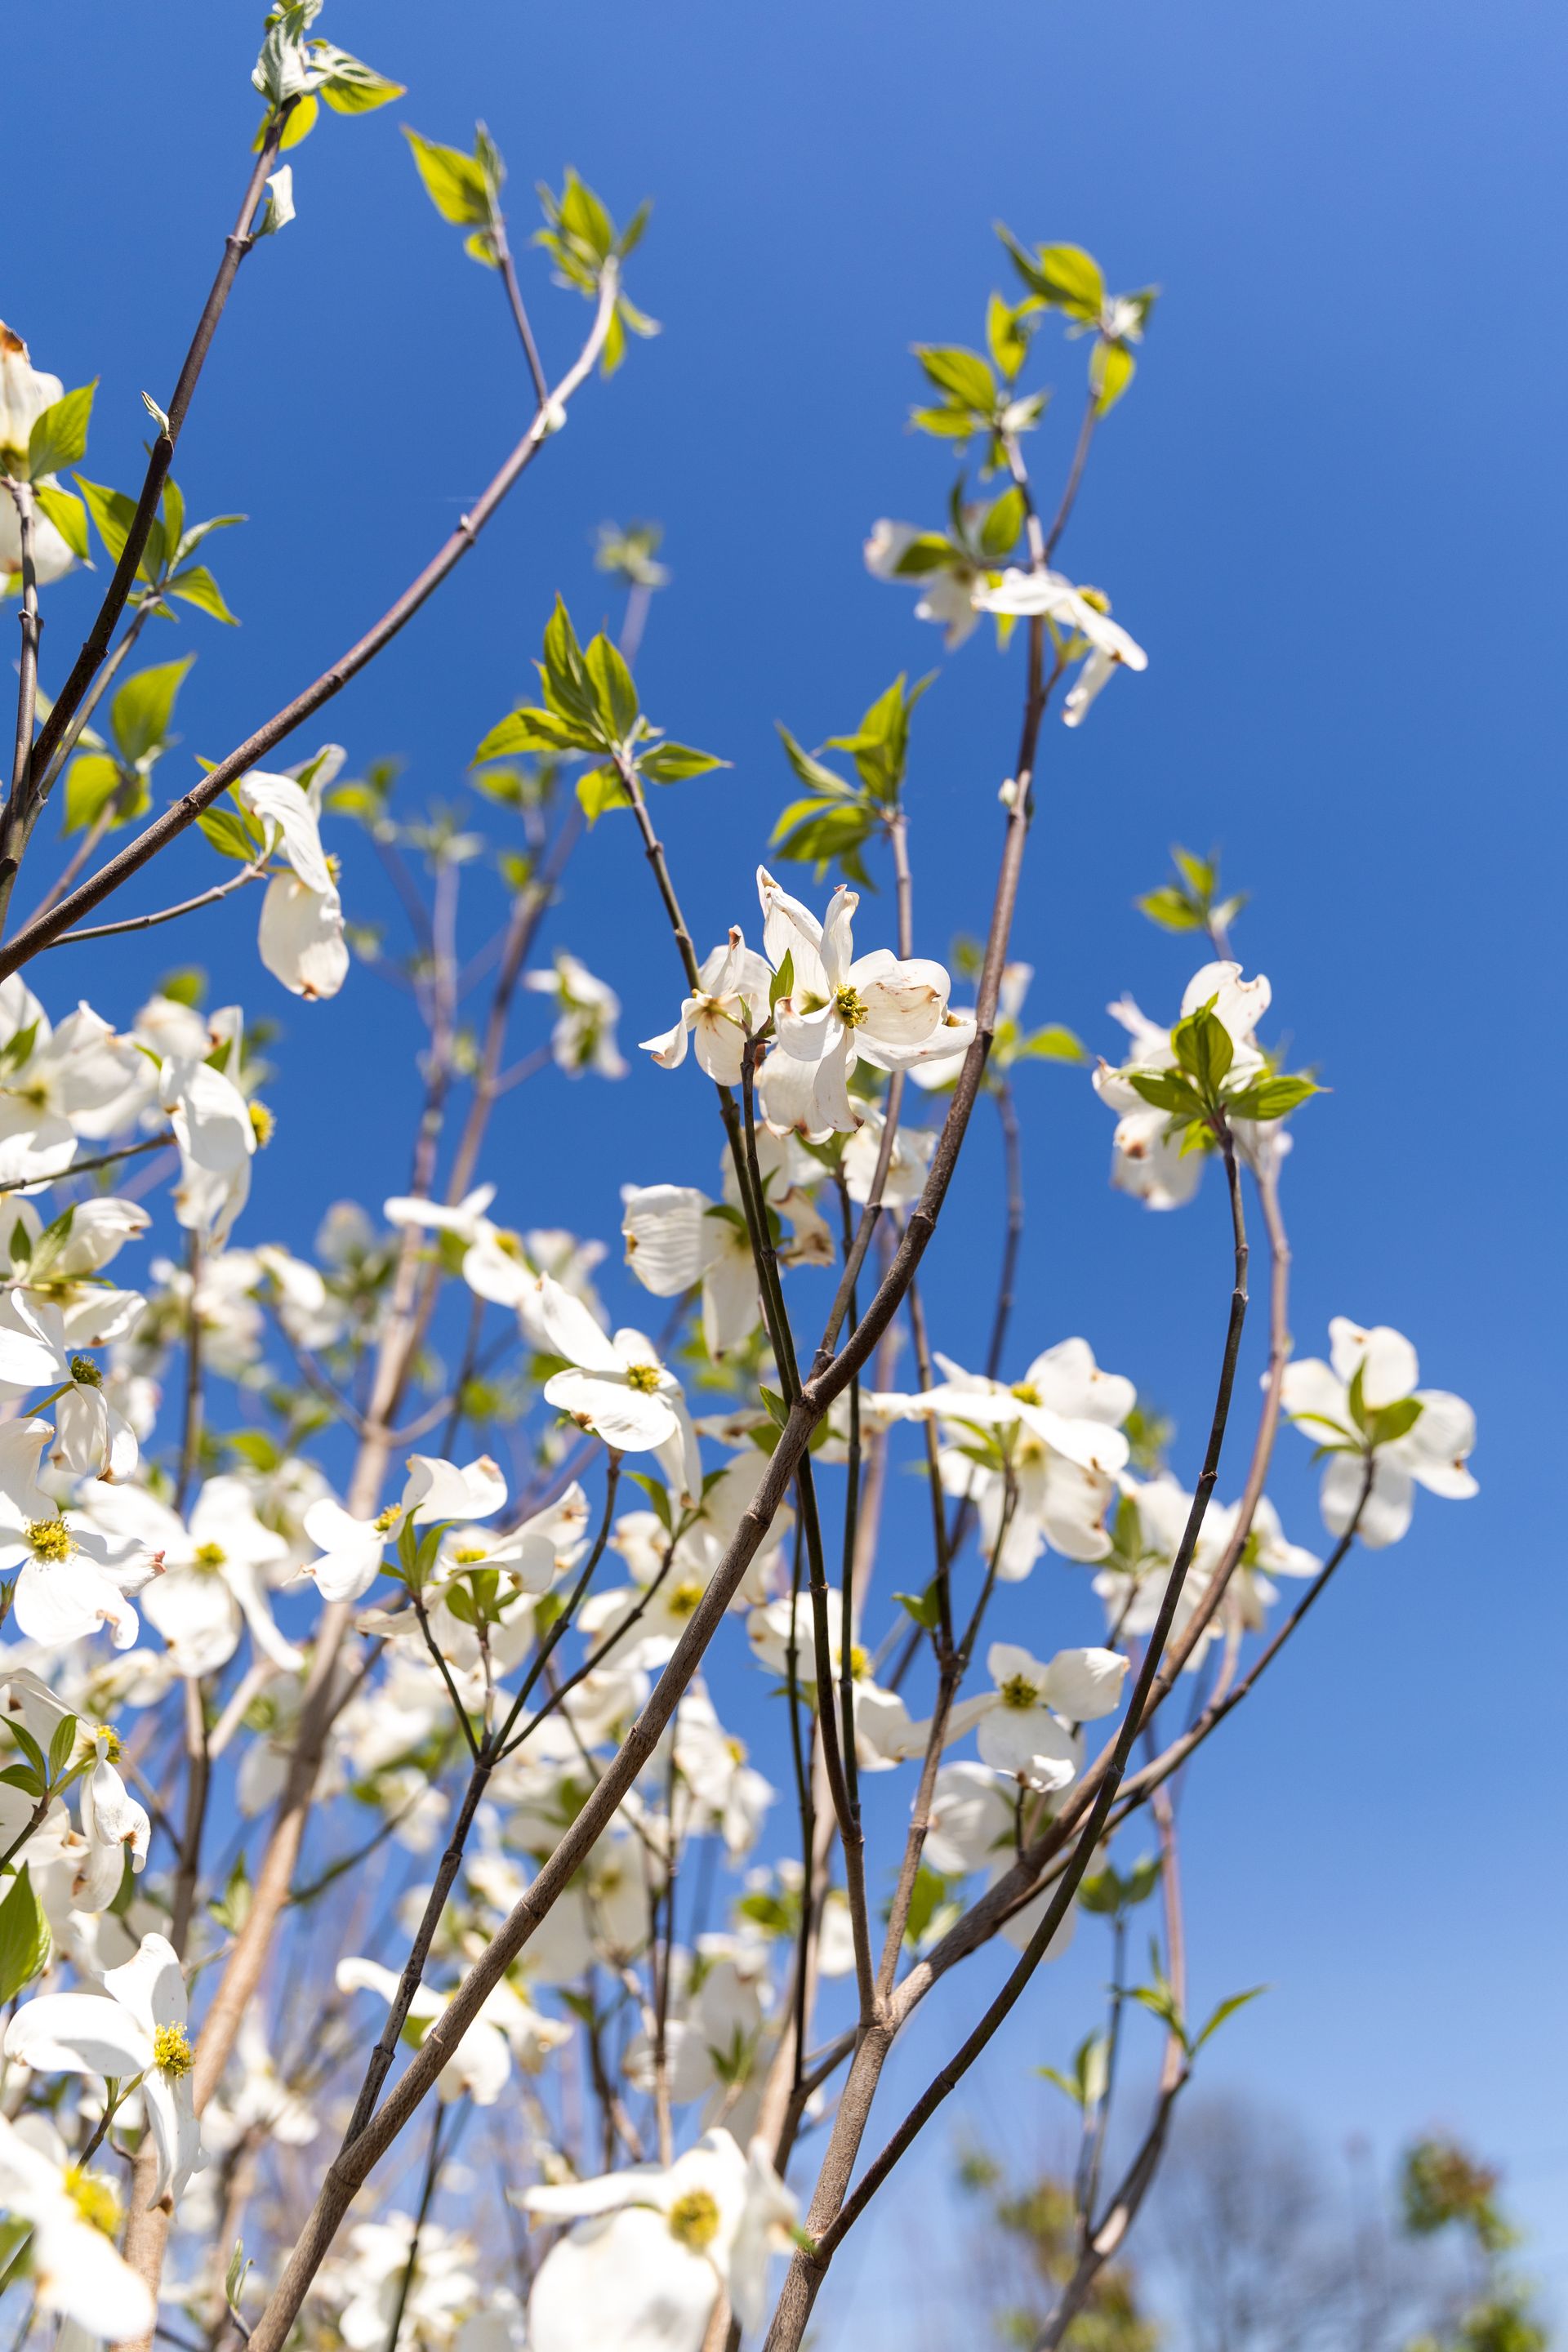
• Maples, fruit trees, dogwoods, red buds, and crabapples are especially susceptible to sunscald.

• We recommend Treekote® Paper Tree Wrap

We Recommend With Every Tree Purchase

• Compost for planting.

• Mulch.

• Root stimulator (one-time use).

• Slow-release tree & shrub fertilizer (for later application).


Questions? Ask a Sharum’s Garden Center team member — we’re here to help.

A gloved hand sprinkling fertilizer on dirt
By Master Account January 27, 2026
What is N-P-K? When you see numbers like 10-10-10 or 12-6-6 on a fertilizer bag, you’re looking at its N-P-K value. These three numbers tell you what nutrients the fertilizer provides—and what those nutrients help plants do. Think of N-P-K as a plant’s diet : N = Nitrogen (Leaf & Green Growth) Helps plants grow lush, green leaves Essential for lawns, evergreens, and leafy plants Too little = pale or yellow leaves Too much = lots of leaves, fewer flowers P = Phosphorus (Roots, Flowers & Blooms) Encourages strong roots Supports flowering, blooming, and fruiting Especially important for newly planted trees, shrubs, and flowers K = Potassium (Overall Health & Strength) Improves overall plant health Helps plants handle heat, cold, drought, and disease Think of this as a plant’s immune system What Do the Numbers Mean? Example: 10-10-10 10% Nitrogen 10% Phosphorus 10% Potassium A balanced fertilizer (like 10-10-10) feeds the whole plant evenly, while a targeted fertilizer boosts a specific need (like blooms or root growth). Choosing the Right Fertilizer New plants? Look for higher phosphorus to help roots establish Leafy growth or evergreens? Nitrogen is key Flowering plants or stressed plants? Potassium helps keep them strong  If you’re ever unsure, our team can help match the right NPK to your plant and the time of year.
Poinsettias of varying colors.
By Master Account November 21, 2025
Poinsettia Care Guide
Planting tulip bulbs
By Master Account October 9, 2025
Tulips are one of the most rewarding flowers you can grow — vibrant colors, easy care, and beautiful spring displays. Follow these simple steps to plant your bulbs this fall and enjoy a stunning show next spring. When to Plant Plant tulip bulbs in fall — usually late September through early November in Arkansas. You want soil temperatures to cool down below 60°F before planting. What You’ll Need Tulip bulbs (choose firm, healthy ones) Garden trowel or bulb planter Bone & blood meal (Hi-Yield or similar) Compost or well-draining garden soil Mulch (pine bark, straw, or shredded leaves) Watering can or hose Step-by-Step Instructions Step 1: Choose the Right Spot Tulips thrive in full sun — at least 6 hours per day — and well-drained soil . Avoid areas where water pools after rain. Step 2: Prepare the Soil Loosen the soil about 8 inches deep where you plan to plant. Mix in 1–2 inches of compost across the surface and work it into the top 6–8 inches of soil. This improves drainage and gives your bulbs a healthy growing environment. Next, sprinkle Bone & Blood Meal into the area — about 1 tablespoon per bulb hole . Lightly mix it into the loosened soil (don’t let the bulb sit directly on top of the fertilizer). Good soil prep is key — it helps bulbs form strong roots before winter. Step 3: Plant the Bulbs Dig each hole about 6–8 inches deep and 4–6 inches apart . Place the bulb pointed end up and flat end down on the loosened, fertilized soil. Backfill the hole with the amended soil and gently firm it down — just enough to remove air pockets, not pack it tight. Step 4: Water Thoroughly After planting, water deeply once to settle the soil. You won’t need to water again unless the weather is unusually dry. Step 5: Add Mulch When the soil cools (usually late October), spread 2–3 inches of mulch over the bed. This keeps soil temperatures stable and prevents early sprouting during winter warm spells. Spring Care When tulip shoots appear in February or March , apply a top dressing of bulb fertilizer such as: Hi-Yield Dutch Bulb Food (7-8-5) Or a general 5-10-10 garden fertilizer Lightly scratch it into the soil and water. After flowering, remove faded blooms but leave the green leaves until they yellow — this allows the bulb to recharge for next year. Pro Tip If your tulips are in a rainy area or heavy clay soil, consider planting them in raised beds or adding sand to improve drainage — soggy bulbs can rot. Enjoy the Show! With the right soil, a little fertilizer, and some patience, your tulips will reward you with bright, cheerful blooms every spring.
By Master Account August 28, 2025
Planting a tree is a rewarding way to enhance your landscape and support the environment. Follow these steps to ensure your tree thrives. What You’ll Need: A healthy tree from Sharum's Garden Center Shovel Compost (to enrich soil) Mulch (to retain moisture and regulate soil temperature) Root stimulator (to encourage strong root growth) Watering can or hose Measuring tape (optional, for spacing) Steps to Plant a Tree: Choose the Right Spot : Select a location with adequate sunlight and space for your tree’s mature size. Check for proper soil drainage and ensure that you avoid underground utilities. Dig the Hole : Dig a hole twice as wide and as deep as the tree’s root ball. Loosen the soil to help roots spread. Amend the Soil : Mix compost into the excavated soil (see instructions here: https://www.sharums.com/garden-center-bulk-bagged) to provide nutrients for healthy growth. Prepare the Tree : Gently remove the tree from its container. If roots are circling, tease them apart. If a ball and burlap tree, carefully remove any synthetic twine, burlap, or wire basket from the top third of the root ball, and ensure the root flare is visible and not buried. Plant the Tree : Place the tree in the hole, ensuring the top of the root ball is level with or slightly above the ground. Backfill with the compost-soil mix, tamping lightly to remove air pockets. Water Thoroughly : Water the tree deeply to settle the soil. Add more soil if needed after watering. Apply a root stimulator solution (follow product instructions) to encourage strong root development. Apply Mulch : Spread a 2-inch layer of mulch around the base, keeping it 2 inches from the trunk to prevent rot. Mulch helps retain moisture and protects roots. Care After Planting : Water regularly. Monitor for pests or stress and adjust care as needed. Pro Tip : Visit our garden center for quality compost, mulch, and root stimulator to give your tree the best start!